
|
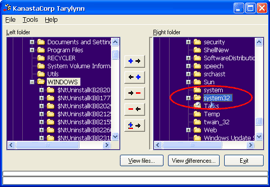
First you must choose which folders you wish to synchronise. Browse thru the left and right folder trees until you find the folders you wish to synchronise. |
|
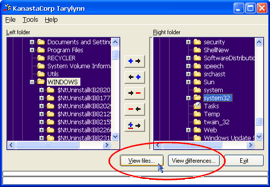
This step is optional. You may now press the View files or View differences button to see the contents of the folders you have chosen. A new window will pop up. Here will be listed all the files and folders within the folders you had selected. File size and date information will be filled in for files that exist in both folders selected. This step may take a long time if the folders you have chosen have many files within them. The progress of each step will be displayed at the bottom of the window. |
|
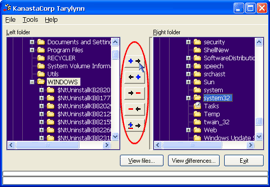
Now you must choose how you wish to synchronise the selected folders. You can:
Hold your cursor over the sync buttons in the middle for a description on what they will do. This may take a long time if the folders you have chosen have many files within them. The progress of each step will be displayed at the bottom of the window. |
Say you have some files in C:\Stuff which you wish to sync to your laptop connected as \\Laptop\
Now you have done some work on your laptop and want to sync it back to your desktop